 One of Moodle’s most useful, yet most often underutilized features is the ability to back up an entire course. This feature has almost endless possibilities. You can, for instance, create a course in a localhost environment and upload it to your website when it is finished, which saves bandwidth if that is an issue. You can backup a course to use on another site, or to share with a friend, or even to sell. If you get a job teaching somewhere else, you can even take your courses with you.
Even if you are teaching a classroom-based course, and only using Moodle to communicate with students, you can use it as a lesson-planning pool. Rather than reinvent the wheel every year, you can simply modify your current course, back it up without any user data, and then re-upload it as a new course the following year.
It’s not necessary to backup an entire course, however: you can also back up just certain parts of it. This enables you to use them in another course or in another part of the same course. This might be a basic lesson form that you need to tweak for different topics, or that you need to tweak for different cohorts (if you are forcing groups), or that you want to revise in order to reteach or extend.
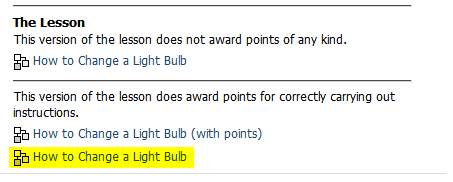
You may have noticed in my recent tutorial “How to Change a Light Bulb” that I included two versions of the same lesson in that Moodle course: one which didn’t award any points and another which did award points. I didn’t create each lesson separately. Instead, I created one version that didn’t award points, backed it up, restored it, and then modified it to a version which did award points. Here’s the process.
Contents
Backup Your Activity
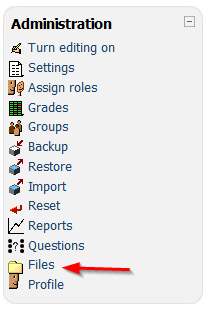
First, navigate to your course in Moodle. Find the Administration block and the “Backup” link:
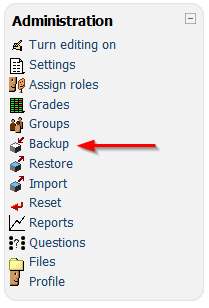
Click on “Backup”, which will take you to the Course Backup area:
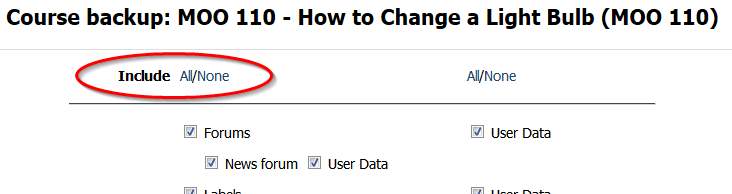
Next to “Include”, click on “None”. This will clear all the check boxes below it.
Scroll down to find the item you want to back up. In this case, it’s a lesson:
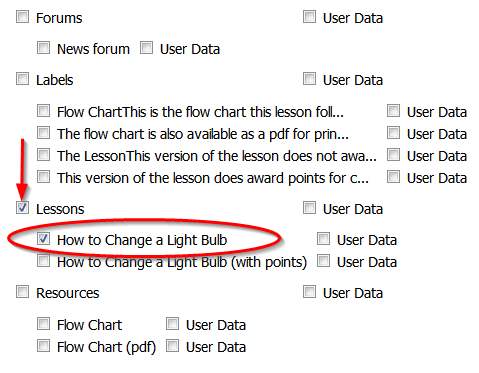
I clicked on “How to Change a Light Bulb”. Notice that when I clicked on this, the checkbox next to “Lessons” was checked automatically to show that one or more of these items are checked. Scroll down to the bottom of that page and find the last two sets of options:
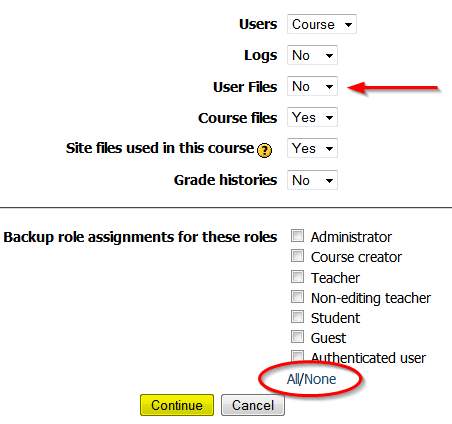
In the upper portion, next to “User Files”, select “No”. Under “Backup role assignments for these roles”, click “None”. Then click “Continue”.
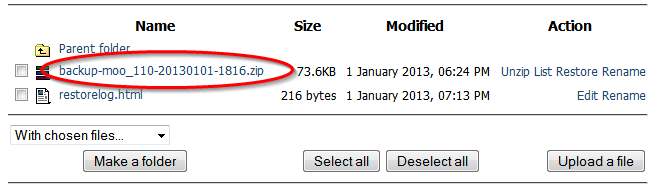
You will then need to click “Continue” twice more before Moodle creates a backup .zip file of your lesson. When it does, you’ll see this:
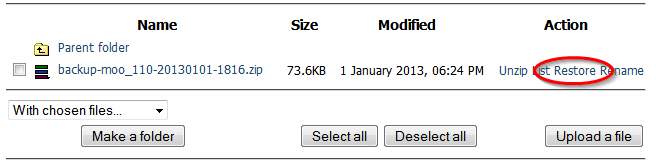
Depending on how many backups you’ve made, or files you’ve added to your course, you may see additional files here. You’ll need to find the file that you just created. Look in the “Modified” column to find the most recent file.
Restore Your Activity
From the above screen, you can simply click on “Restore”. Moodle will display a page that looks like this:
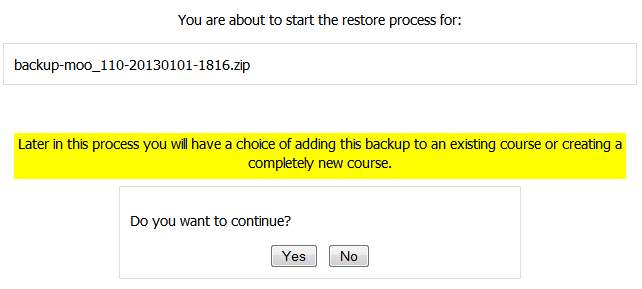
I’ve highlighted the key option here, because it’s all too easy to just keep clicking “Continue” and end up with a completely new course. Go ahead and click “Yes”. In the page that follows, click “Continue”. That will get you to the main backup page:
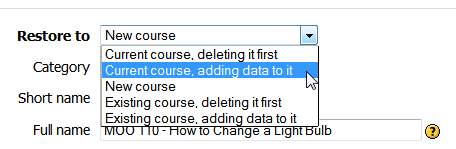
In the “Restore to” drop-down menu, select “Current course, adding data to it”. This will allow you to add this activity as an additional activity to the same course. (If you wish to add this activity to a different course, those instructions are at the end of this tutorial.)
Scroll to the bottom of the page and click “Continue”. Moodle will give you its usual warning that this can take a long time:

Click on “Restore this course now!” Moodle will import the course and display a progress page. Scroll to the bottom of that page and click on “Continue”. Moodle will then take you back to your course and display your newly added activity:
At this point, you will need to turn editing on and edit your lesson (especially the name).
Adding this Activity to a Different Course
This procedure is the same as above, buy you’ll need to first download the .zip backup file from your first course and then upload it to your second course. To download the backup, click on the name of the backup file:
You will be prompted to save the file:
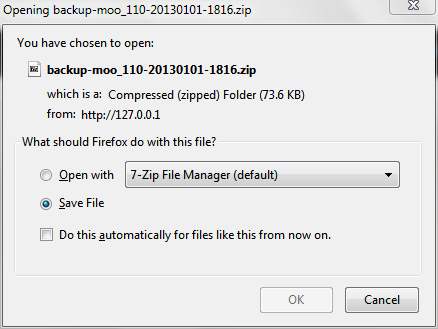
Save it someplace you can find it easily (your desktop, for instance), and then navigate in Moodle to the course you would like to add this activity to. In the Course Administration block, click on “Files”:
From the Files area, click on “Upload a file”:

Select the file that you downloaded from your first course and upload it. Once you’ve uploaded it, click on “Restore” next to its name and follow the rest of the steps in the first part of this tutorial.
Conclusion
Moodle’s backup function is very useful, and should save you a lot of work. Try it out.
https://techblog.kjodle.net/2013/01/01/duplicating-activities-in-moodle/
