Creating a static front page in WordPress is easy, but I often encounter people who have trouble doing it. Perhaps the instructions in the Codex aren’t very visual, or all the talk about theme development on the same page puts them off. In any case, here is a quick, visual guide to creating a static front page.
The Basics
You actually need to create two pages. One page that WordPress will use as your front page, and another that it will use to display your blog posts (if any). After you create those pages, you’ll select them in your “Readings” settings panel.
Create the Pages
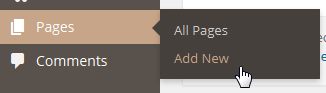
First, let’s create those two pages. Go to “Pages >> Add New”. (You can also do this from the “+ New” dropdown menu if you are using the admin bar.)
We’ll create the blog page first, as it’s easier. Title your new page “Blog” but don’t add any content, which WordPress will ignore anyway:
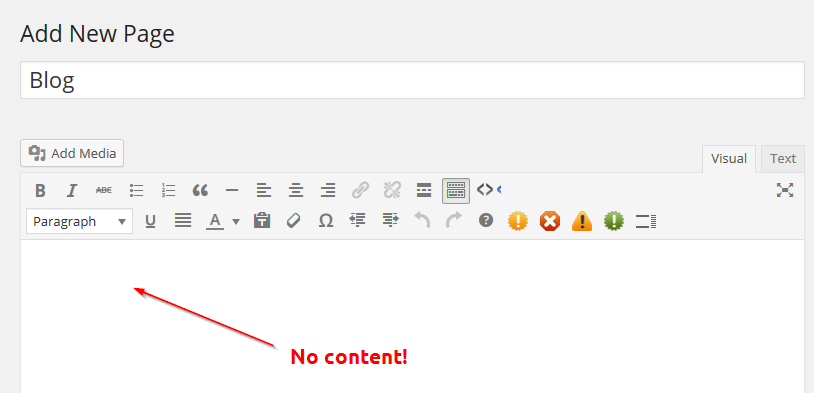
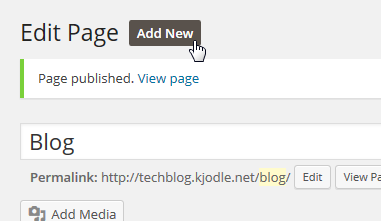
Click “Publish” and it’s done.
Let’s add the front page now. Click on the “Add New” button:
Title this one whatever you want (as you can see in the example, I called my “Welcome!”) and add whatever content you want:
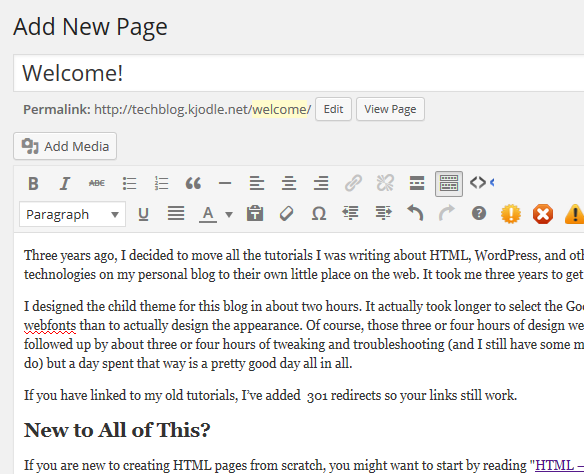
Click “Publish” and it’s done.
Changing the Reading Settings
Go to “Settings >> Reading”:

The WordPress default is that the front page just shows your latest posts. (How many it shows depends on the theme you are using.) Click on the radio button next to “A static page”:
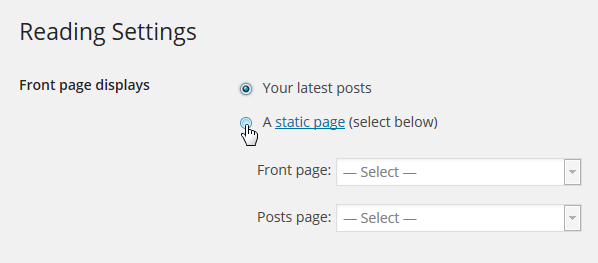
The two options below it will no longer be greyed out after you do that.
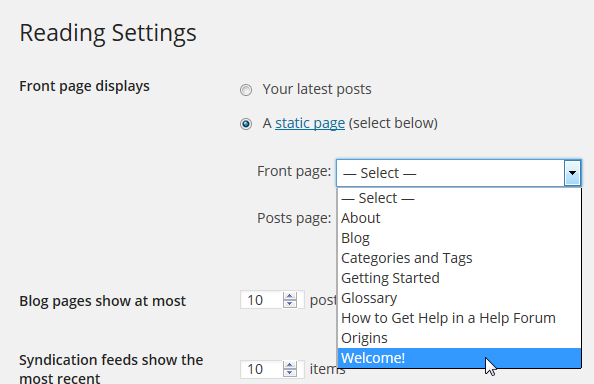
For “Front page:” select the page you created to be your front page. In my case, it’s my “Welcome!” page:
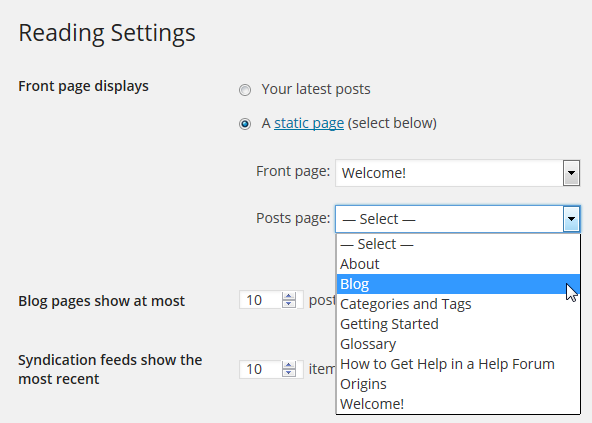
And for the “Posts page:” option, select the empty “Blog” page you created:
Be sure to click the “Save Changes” button at the bottom of the page. You may have to scroll a bit to see it.
Navigate to the front page of your website and you should see your brand new static home page. If you don’t, clear your browser cache and reload the page.
https://techblog.kjodle.net/2014/08/27/create-a-static-front-page-in-wordpress-a-visual-guide/
