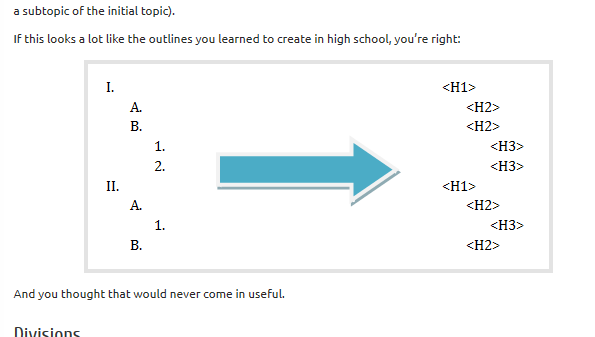
Not many people realize how easy it is to control the appearance of selected images in WordPress by adding a CSS class to the image, but this is a very powerful tool to control the appearance of your website.
For example, WordPress automatically adds a border around all images. Here’s an example:
If you want to eliminate that border, you would use the following CSS in your child theme stylesheet:
img {
    border: none;
}
That would eliminate the border around all images. What if you want to eliminate the border just around some images? Image classes make it pretty easy.
Let’s start with the CSS. In your child theme stylesheet* add the following:
.noborder {
   border: none;
}
Click on the edit icon for that image. (The one that looks like a pencil.) You should see something like this:
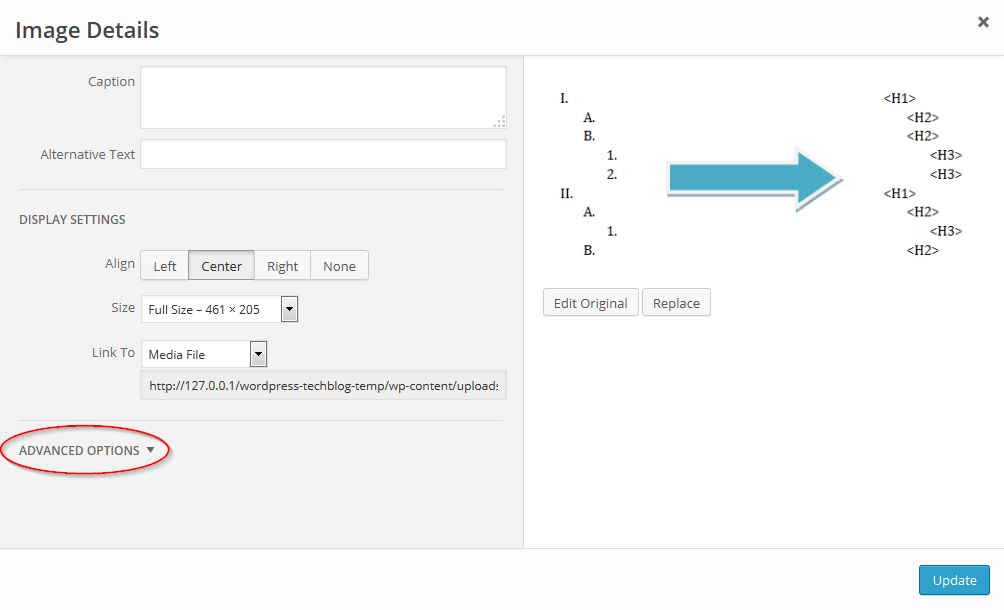 Click on “Advanced Options”. That opens up this panel:
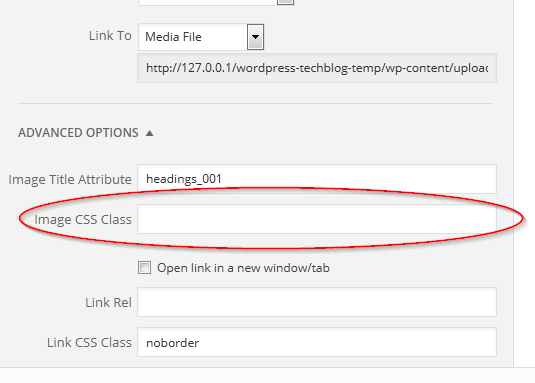
In the”Link CSS Class” box, we’re going to enter the class we defined in our stylesheet:
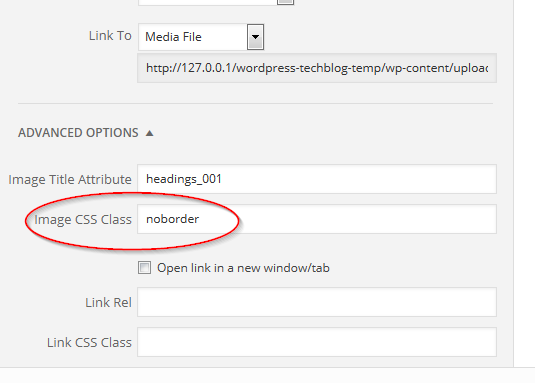 And then click “Update”. When the page is refreshed, the result looks like this:
Mischief managed!
Troubleshooting
This approach may not work for you if the theme you are using wraps the content in a div like `<div class=”content”>` or something similar. You will need to view the page’s source code or use a tool like Firebug to nail down the specific combination of elements that will work for you.
*If your theme does not offer a “Custom CSS” option or you are not using a custom CSS plugin, you need to create a child theme and make your changes there. For various reasons, you should never edit your theme files directly.
https://techblog.kjodle.net/2014/08/16/add-css-classes-to-images-in-wordpress/
